UDISE Plus Student Module 2026-27: SDMS Login & Profile Data Entry Guide
📋 Table of Contents (click to collapse)
- Introduction to the UDISE Plus Student Module (SDMS)
- Configuring Classes, Sections, and Basic Controls
- Understanding the GP, EP, and SF Data Entry Process
- Aadhaar Validation and Permanent Education Number (PEN) Workflows
- Student Promotion and Inter-School Migration Procedures
- Solving Common SDMS Validation Warnings and Errors
- Frequently Asked Questions (FAQs)
Introduction to the UDISE Plus Student Module (SDMS)
To eliminate ghost enrollments, track student dropouts, and distribute direct benefits efficiently, the Ministry of Education implements the udise plus student module. Historically, schools only reported total student counts per class in a single table, which hid individual dropouts and allowed double enrollments across different schools. The launch of the Student Database Management System (SDMS) transformed this workflow, forcing schools to register every pupil individually. Today, the udise plus student module serves as a robust tracking database, mapping the academic progression of millions of children across India.
Class teachers and database operators interact with the SDMS portal daily during the data entry cycle. The system tracks key educational variables, ranging from basic demographic metrics to specific facility utilization records. By gathering these records, the government can identify the socio-economic factors causing student dropouts. Additionally, the udise plus student module tracks key performance metrics such as progression rates, promotion counts, and transition percentages, helping state education departments evaluate the efficiency of local schooling networks.
Understanding the architecture of this module is vital for school administration. Because student records in the udise plus student module link directly to board registration portals and national scholarship databases, any typographical error can block a student's progress. Operators must enter data with extreme care, cross-verifying each record against physical admission files before freezing. This comprehensive manual details the step-by-step procedure to configure sections, complete profile forms, validate Aadhaar records, and manage student migration workflows.
Configuring Classes, Sections, and Basic Controls
Before typing student details, the school head must configure the backend database settings. Attempting to add students on the udise plus student module without establishing class controls results in database blocks and empty dropdowns. Follow these initial steps to set up the workspace:
Section Management
The operator must navigate to the "Section Management" panel on the SDMS dashboard. This tool defines the structure of each class in the school. Select the class level (for example, Class 1 or Class 5) and define the number of sections required. The portal allows administrators to create multiple sections (A, B, C, etc.) to match the physical setup of the school. If a school has separate boys, girls, or co-educational sections, define these options here to keep data organized.
Medium of Instruction Mapping
Define the language medium for each section. In India, schools teach in various regional languages, and the portal tracks this variable to support bilingual education goals. For each section, select the primary medium of instruction (such as Hindi, English, Marathi, or Tamil) from the dropdown list. If a school teaches multiple languages, assign the correct medium to each specific section. Saving this configuration immediately unlocks the student entry forms for the respective classes.
Roster Synchronization
If the school has operated on the portal in the previous academic year, the system displays a pre-filled list of classes. The operator must check the section details and synchronize the roster. If a section is closed or merged, delete or disable it in this panel to prevent operators from assigning new students to inactive classes. Once the classes and sections show a green checkmark, the database is ready to accept individual student profiles.
Understanding the GP, EP, and SF Data Entry Process
The student profile page in the udise plus student module is split into three main parts. To successfully register a student, the database operator must complete all three sections, as leaving even one form incomplete flags the entire student record as invalid.
General Profile (GP)
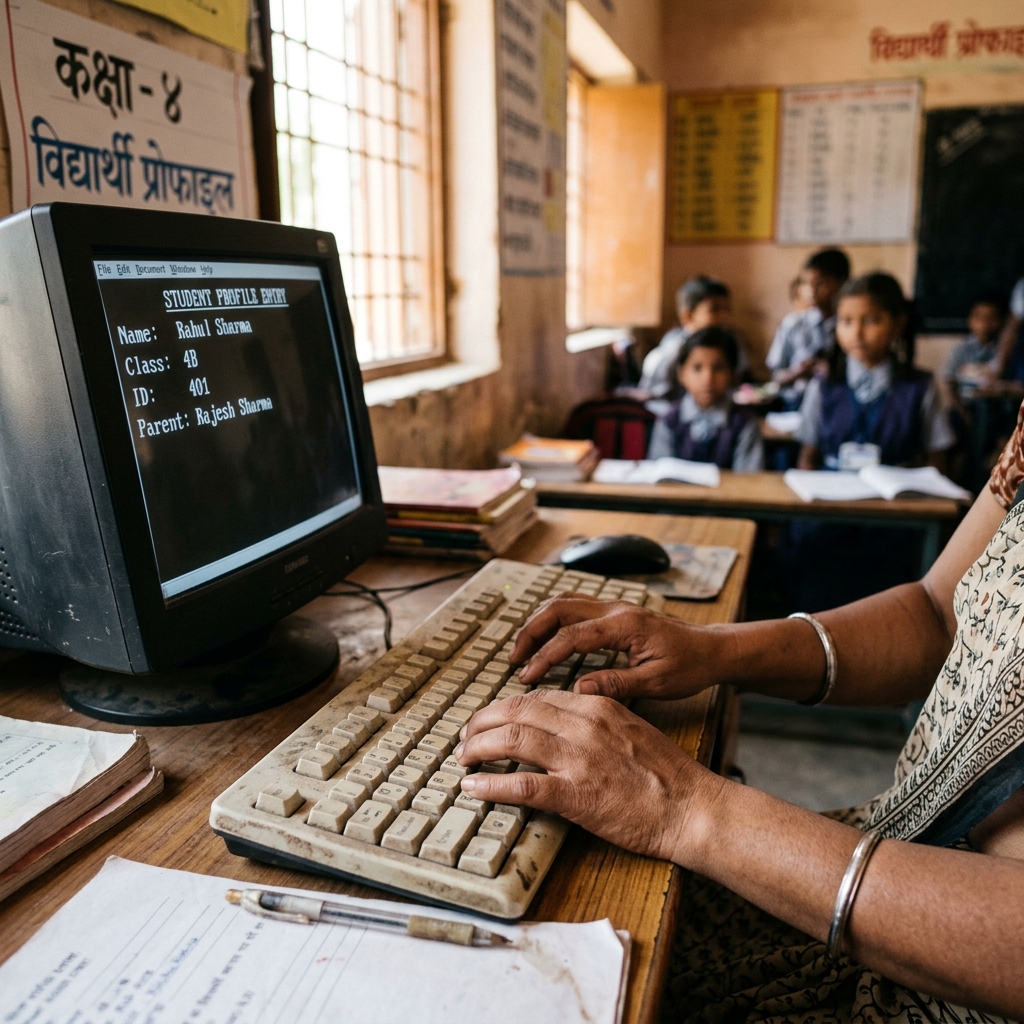
The GP form captures the core demographic details of the student. The operator must input:
- Personal Identification: Student's full name, gender, date of birth, and parents' names exactly as recorded in the school admission register.
- Social Category: The social group (General, SC, ST, or OBC) and minority status (if applicable) to track representation.
- Language and Religion: The student's mother tongue (using standardized language codes) and religious background.
- Aadhaar Information: The 12-digit Aadhaar number and the student's name as written on the physical card.
Enrollment Profile (EP)
The EP form records the student's academic history and status within the school. Key fields include:
- Admission Details: The unique Admission Number (SRN) and the exact Date of Admission.
- Class Position: The assigned class, section, and class roll number.
- Academic Stream: For higher secondary levels (Classes 11 and 12), the operator must select the stream (Science, Commerce, Arts, or Vocational).
- Previous Year Status: Record where the student studied in the previous session (Same School, Other School, or Unenrolled) and their attendance logs.
Student Facilities (SF)
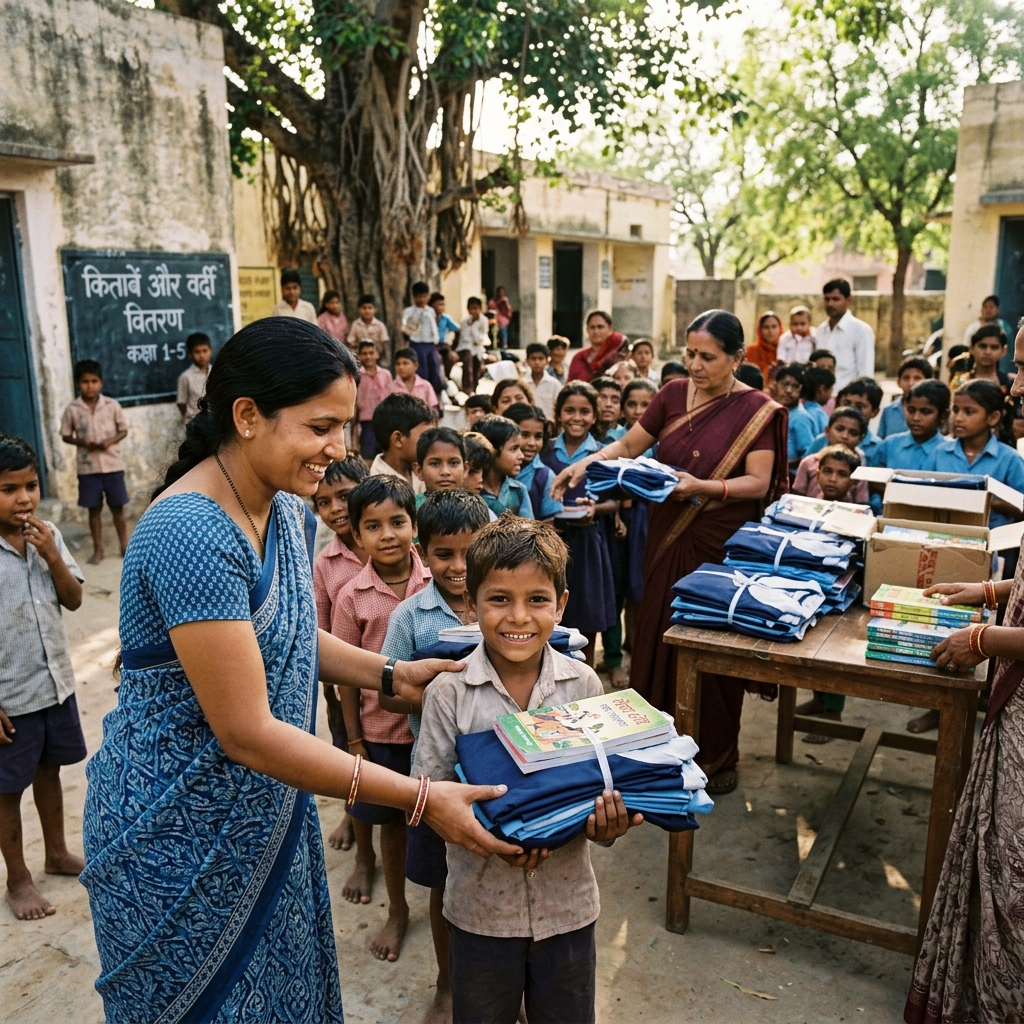
The SF form tracks the direct benefits received by the student under central and state government welfare schemes. The operator must check boxes indicating whether the student received:
- Free textbooks and writing materials.
- Free uniforms or clothing allowances.
- Transport facilities (for remote areas) or a bicycle.
- National or State-level scholarships, including the amount received.
- Specific learning aids if the child is registered as CWSN (Children with Special Needs).
Aadhaar Validation and Permanent Education Number (PEN) Workflows
To prevent fake profiles and secure data, the udise plus student module utilizes real-time verification APIs. These validations verify student records against national database registries.
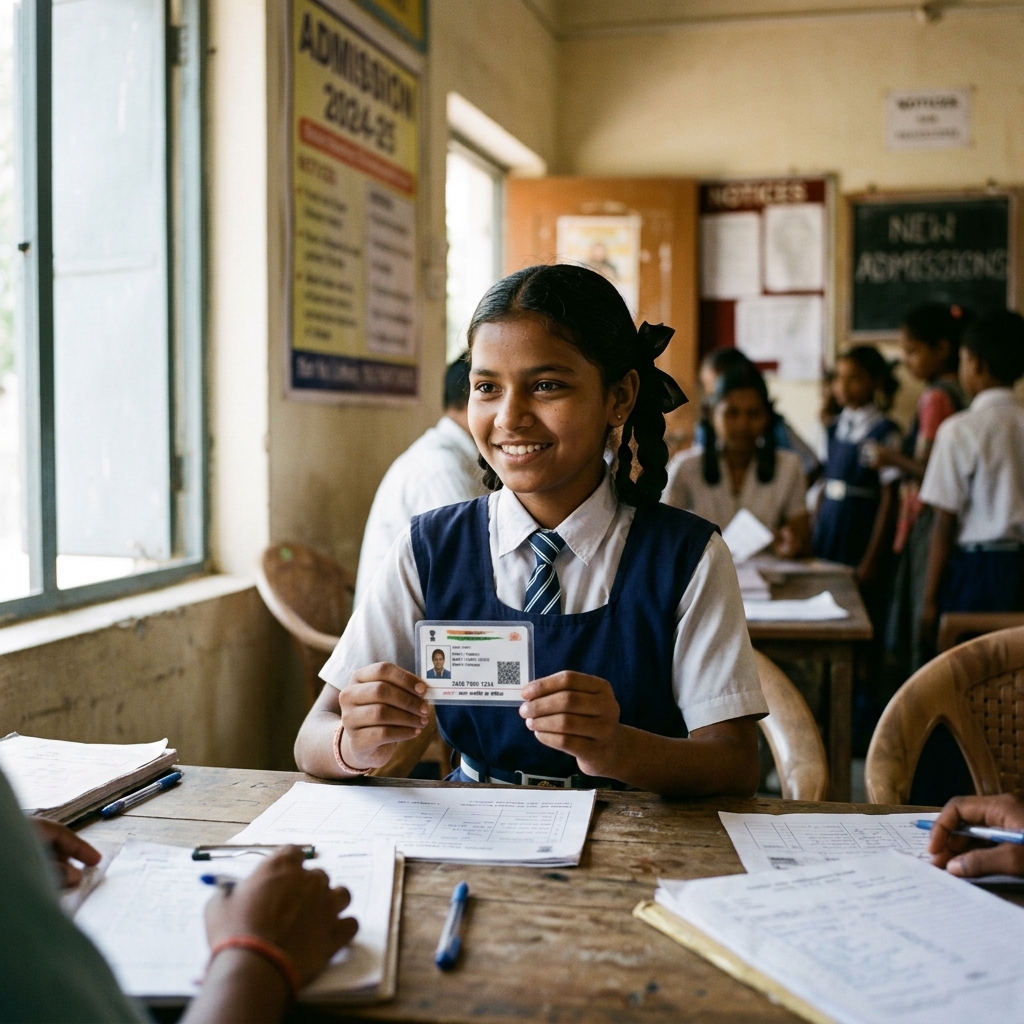
Aadhaar Verification API
When the operator submits the GP form, the portal queries the UIDAI database using the student's name, gender, DOB, and Aadhaar number. If the data matches, the portal displays a green "Verified" checkmark. If the validation fails, the operator must review the physical Aadhaar card. If the card contains spelling typos, the operator must correct the GP spelling to match the card, save the profile, and retry the validation.
Permanent Education Number (PEN) Generation
Once Aadhaar verification is successful, the portal assigns a unique 11-digit **Permanent Education Number (PEN)** to the student. This number serves as a permanent key that follows the student throughout their school life. If the student leaves the school and moves to another district or state, the new school head does not create a new profile. Instead, they use the student's PEN to import their history, preventing duplicate records.
APAAR ID Integration
Under the guidelines of the National Education Policy (NEP 2020), the UDISE portal integrates with the APAAR ID registry. The APAAR ID is a lifelong digital identity card that links directly to the student's academic credit bank. For the portal to generate this ID, the student's Aadhaar validation status must show green. School heads must collect consent letters from parents before validating the APAAR ID generation process, as this step links the child's academic data to national portals.
Student Promotion and Inter-School Migration Procedures
At the start of every academic session, school operators must manage the transition of the student body. The udise plus student module implements specific workflows to handle progressions and transfers:
The Progression Module
Before adding new students, the school operator must process the existing student list in the Progression Module. For every student listed in the previous year, the class teacher must select their status:
- Promoted: The student passed the exam and moved to the next higher grade.
- Not Promoted: The student remains in the same grade.
- Discontinued: The student dropped out before the end of the session.
Additionally, record the marks percentage and the number of days the student attended school in the previous session. Clicking "Submit" updates their grades and rolls them over to the new academic year.
National Drop Box and Import Workflows
If a student leaves your school, do not simply delete their profile. Shift the record to the **National Drop Box**. Once the student is in the drop box, their profile is released, allowing their new school to import them. If a new student joins your school, follow this import process:
- Ask the parent for the student's PEN and Date of Birth.
- Log into the SDMS portal and navigate to the "Import Student" panel.
- Enter the student's PEN and Date of Birth.
- The portal will pull the profile from the previous school's drop box.
- Verify the details and assign the student to the new class and section.
| Migration Case | Previous School Action | New School Action | Key Document Required |
|---|---|---|---|
| Transfer Certificate (TC) | Select "Left School with TC" in progression, releasing profile to Drop Box. | Search student via PEN, click Import, assign new class section. | PEN Number, TC from previous school |
| Dropout Student | Mark student as "Dropout/Discontinued" in the student profile list. | No action unless student returns. Profile rests in Drop Box. | Attendance register validation |
| New Admission (Class 1) | No previous action (fresh record). | Click "Add New Student", enter demographics, trigger Aadhaar validation. | Birth certificate, parent consent form |
Solving Common SDMS Validation Warnings and Errors
Operating the udise plus student module during peak season can trigger database blocks. These standard fixes help coordinators resolve portal issues efficiently:
1. "Duplicate Student Record Found" Block
This warning occurs when the operator tries to add a new student whose Aadhaar number is already registered under another school. The udise plus student module blocks fresh registration to prevent double enrollment. To resolve this, do not create a new profile. Search for the student using their Aadhaar number to find their PEN. If the student is registered under another school, coordinate with that school to release the profile to the Drop Box, and then import them using their PEN.
2. "Age Out of Range" Validation Error
The udise plus student module verifies the student's date of birth against the class level. If the entered age is too high or too low for the selected class (for example, a 3-year-old child in Class 5), the system locks the page. The operator must crosscheck the date of birth with the physical birth certificate. If the date of birth was typed incorrectly, correct the entry. If the child actually has an irregular age, the school head must obtain an age relaxation certificate from local block education authorities to bypass the block.
3. "Cannot Freeze School Data" Status
If the "Final Submit" button is disabled, the system has detected incomplete profiles. Navigate to the student list page. The portal displays a progress indicator for each student. If any record shows red or amber markers, the operator has skipped the EP or SF sections. Open the profile, complete the missing pages until all indicators turn green, and the portal will automatically unlock the "Freeze" button.
Udise Plus Student (SDMS) Login Module (State Wise)
❓ Frequently Asked Questions (FAQs)
Here are the most common questions people ask about UDISE Plus Student Module 2026-27: SDMS Login & Profile Data Entry Guide.
✅ Conclusion
The UDISE Plus Student Module is a powerful database that tracks student progress and streamlines central resource distribution. Accurate entries in the GP, EP, and SF sections ensure that every child receives due benefits. School administrators must audit these entries annually and coordinate with teachers to submit verified data.